Don’t discard those chicken scraps – they can be transformed into a mouthwatering and budget-friendly Chicken Broth! Learn how to create your own homemade chicken broth from scraps, saving both flavor and money in the process.
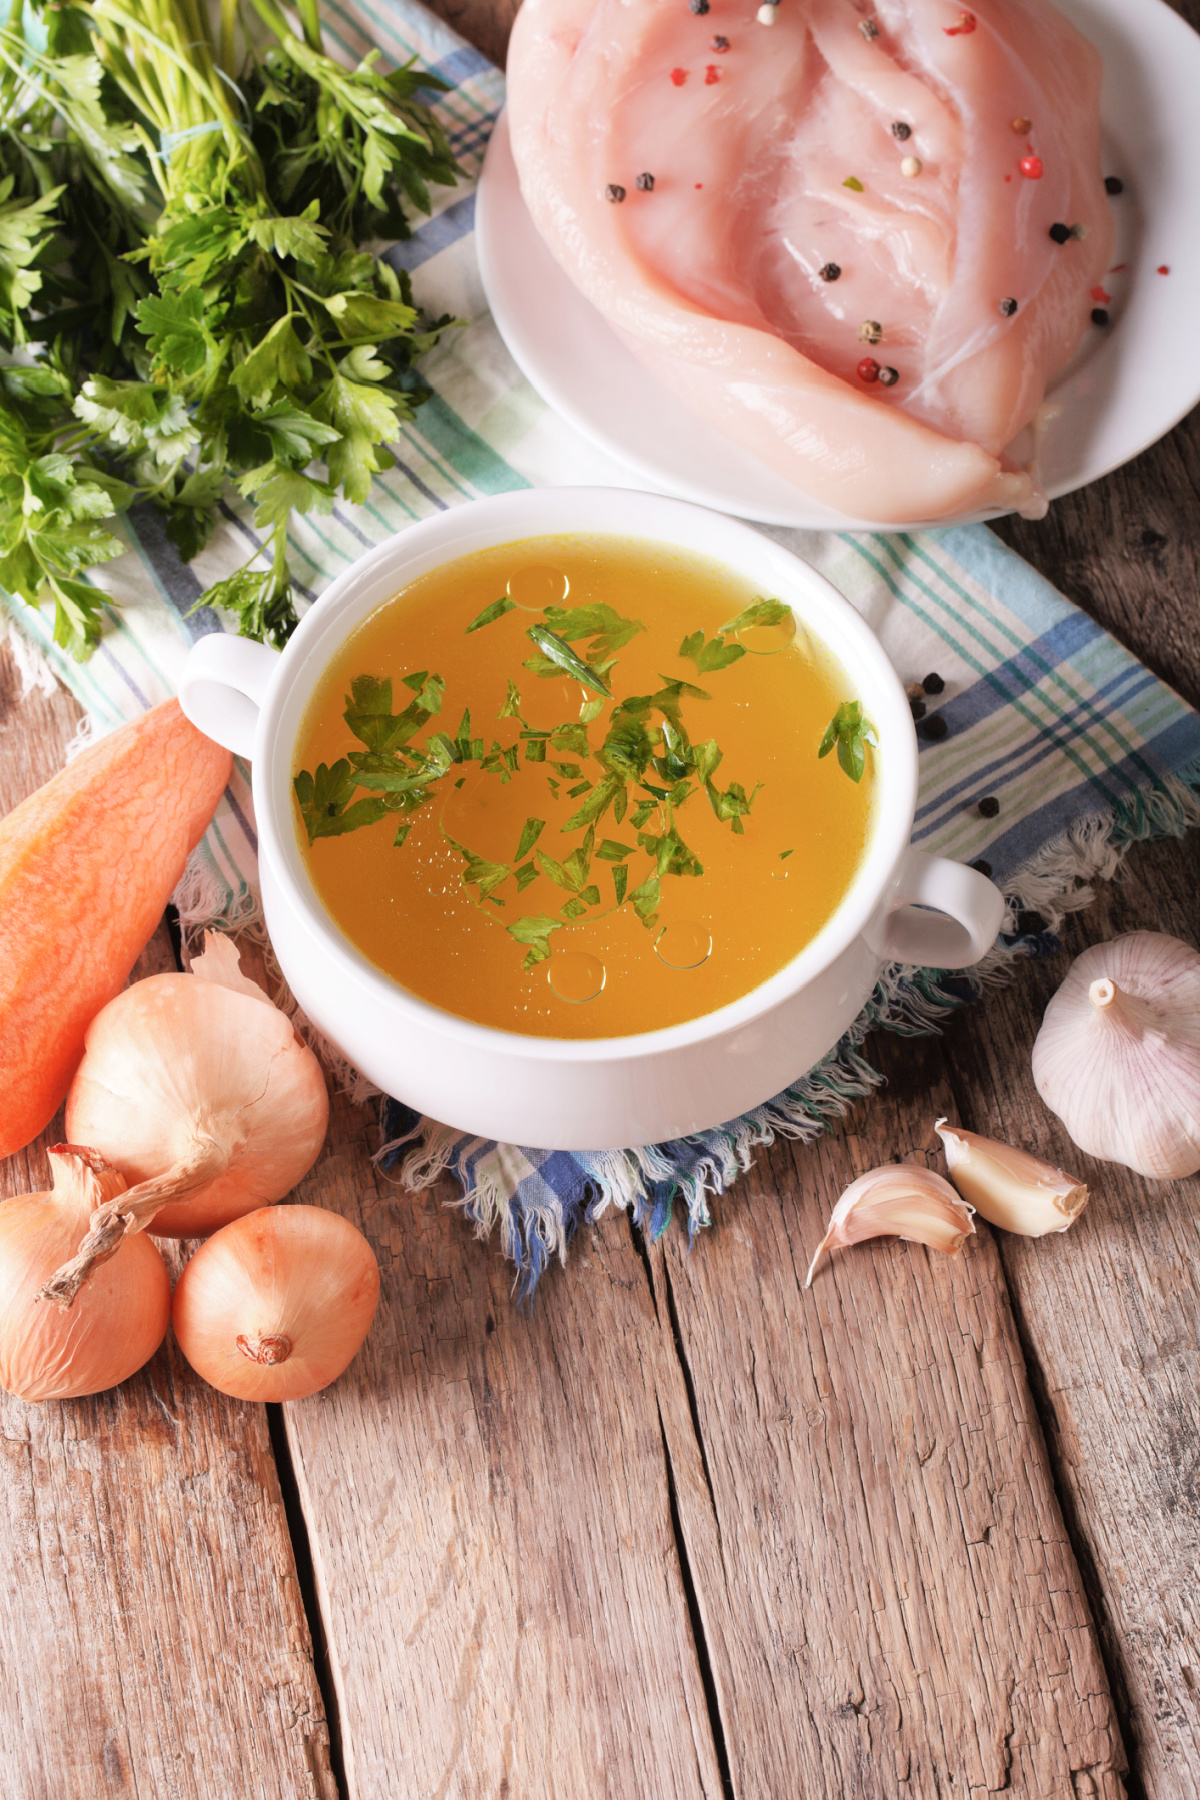
Welcome to the realm of homemade cooking, where every ingredient serves a purpose, even the scraps. Were you aware that those leftover chicken scraps can be transformed into a rich and flavorful broth suitable for a variety of dishes?
In culinary school, the first lesson I learned, right alongside knife skills, was the art of making broth. Why? Because these two skills form the very foundation of cooking. Attempting to replicate the depth of flavor found in homemade chicken stock from a can or box simply doesn’t compare. Restaurants make use of every last bit to maximize their profits.
Shall we begin?
Step 1: Gather Your Scraps
- To start making your delicious chicken broth, the first step is to gather your scraps. Collect chicken bones and carcasses. Remove any skin as this will produce a cloudy and greasy stock. If you don’t have enough scraps to make a full batch of broth, simply store them in a freezer-safe container until you have enough.
- You can also use vegetable scraps such as onion ends, carrot peels, and celery leaves to add even more flavor to your broth. NO NEED TO PEEL! Once you have your scraps, it’s time to move on to step two and start simmering them into a savory broth.
Step 2: Simmer the Scraps
- Many people think you need hours and hours to make broth. That’s simply not true, in fact it’s the opposite. All you need is about 3 hours of your time. Add enough water to cover the chicken and vegetables ONLY, and then bring the water to a boil over high heat. As soon as the water starts boiling, reduce the heat to low and let the broth VERY SLOWLY simmer.
- During the simmering process, impurities will rise to the surface of the water. Use a slotted spoon to skim off any foam or fat that accumulates on the surface of the broth. Continue to babysit the stock until foam subsides.
- Meanwhile, place the bay leaf, thyme, parsley and peppercorns in a piece of cheesecloth and tie it tight.
- After the 2 hour mark, add the sachet to the the broth to continue another 45 minutes – 1 hour.
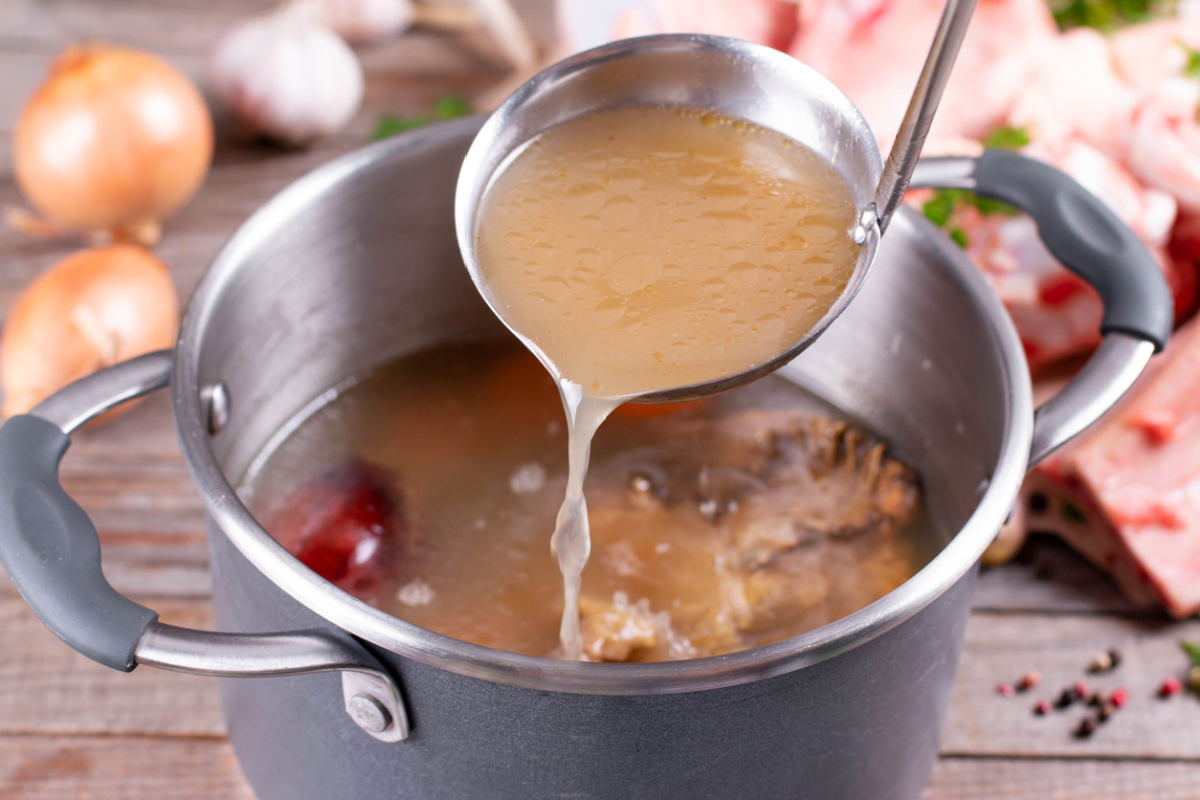
Step 3: Strain, Cool and Store
- Once the broth has been simmered to perfection, it’s time to strain out the solids and store all that liquid gold. Using a large slotted spoon, remove any bones, vegetables and herbs from the broth. Then, set a fine-mesh strainer over a large heatproof bowl and carefully pour the broth through the strainer.
- Discard the solids and place the broth in an ice bath for 10 minutes. Remove the broth and set it aside to cool to room temperature. Once the broth is cool, cover and refrigerate for up to four days, or freeze for up to six months.
- If freezing, be sure to use freezer-safe containers and leave some headspace in each container to allow for expansion during freezing.
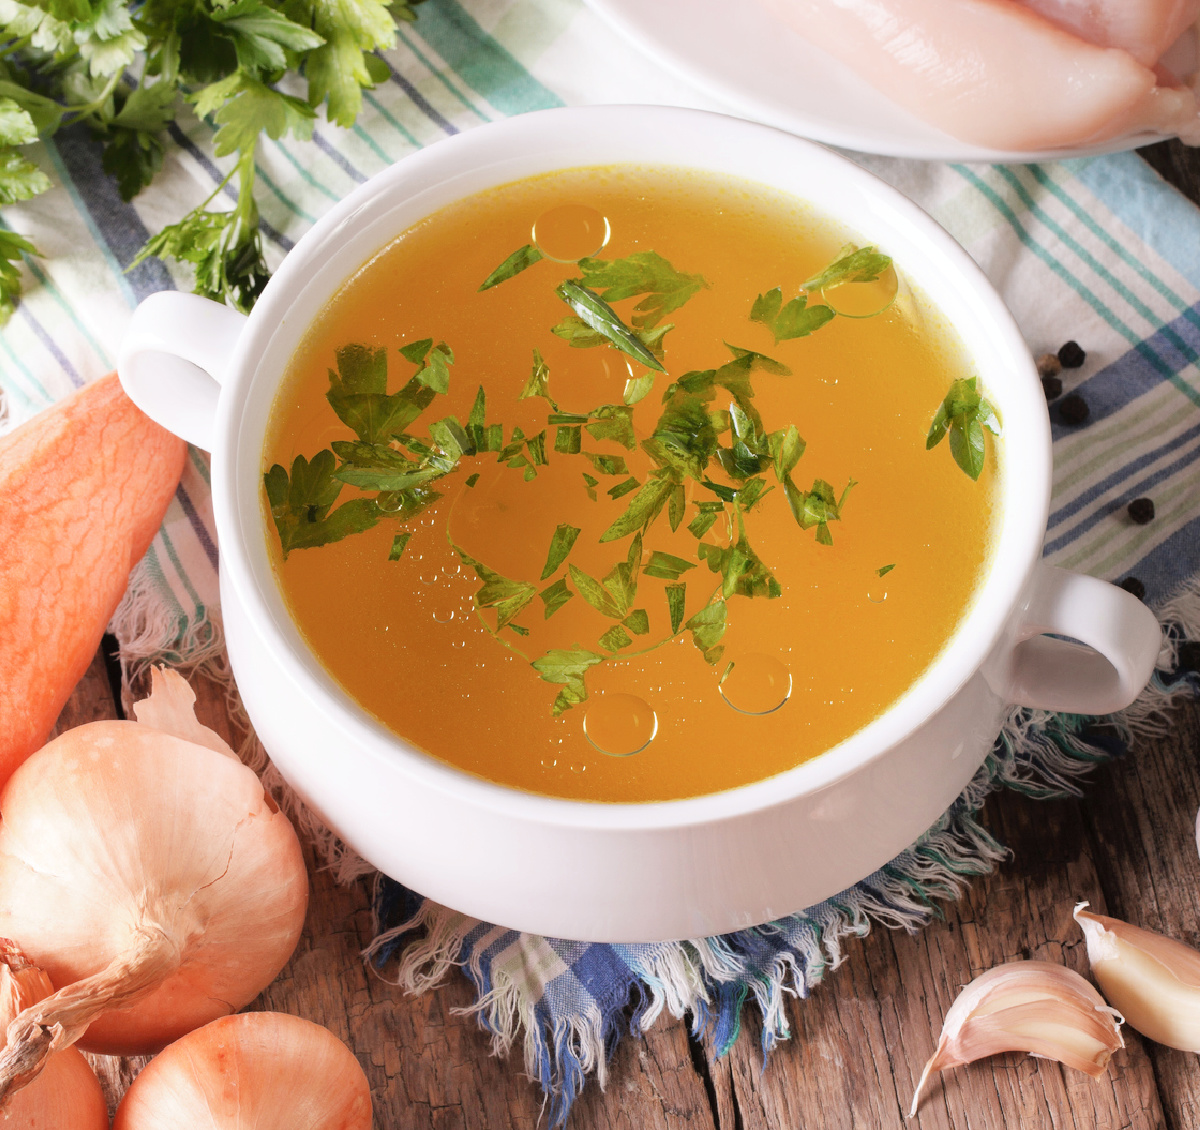
Ways to Use Chicken Broth
- One of the most popular ways to use chicken broth is as a base for soups as it adds depth and richness. Simply replace water with chicken broth in your favorite soup or stew recipe and enjoy the difference in flavor.
- Chicken broth is also a great addition to sauces providing a savory flavor that complements a variety of dishes. Use it to deglaze your pan after cooking chicken or vegetables to create a flavorful sauce or gravy. You can also use chicken broth to marinate meats or vegetables before grilling or roasting, adding extra flavor and moisture.
- Another way to incorporate chicken broth into your cooking is by using it to cook grains such as rice, quinoa, and barley. Simply substitute water with chicken broth for a more flavorful dish. You can also use chicken broth to cook pasta, adding subtle flavor to your favorite dishes.
- Finally, chicken broth can be used as a great alternative to oil when sautéing vegetables or meats. It adds moisture and depth to the dish without the added calories and fat of oil.
HOMEMADE CHICKEN BROTH
Like this recipe? Pin it to your SOUP board!
Tried this recipe? Please leave a star ⭐️⭐️⭐️⭐️⭐️ rating in the recipe card below and/or a review in the comments section further down the page. And consider following me on Facebook and Pinterest!
Print
Homemade Chicken Broth
Ingredients
- 1 Chicken carcass (skin and meat removed)
- 1 Large onion quartered
- 4 Carrots peeled, cut in thirds
- 4 Ribs celery, cut in thirds
- 10 Sprigs Fresh Thyme
- 10 Sprigs Fresh Parsley
- 2 Bay leaves
- 8 – 10 Peppercorns
- 2 Whole Cloves Garlic, peeled
- Enough water to cover chicken
Instructions
- Place the chicken, vegetables, and herbs in a large stockpot. Add enough water to completely cover them, about 8-10 cups.
- Heat on high until you see bubbles forming, but do not allow it to boil. Reduce the heat to maintain a gentle simmer.
- Skim the surface occasionally to remove any fat that rises, usually every hour.
- Continue simmering uncovered for 6-8 hours, adding water whenever the carcass or vegetables become visible. You may use up to 16 cups or more of water, depending on your preference for broth concentration. Longer simmering enhances the flavor.
- Once the broth has cooled slightly, strain it into another pot, discarding all solids.
- Refrigerate the broth for up to one week or freeze it for later use.
Notes
Nutritional Disclaimer: The provided nutritional information is an estimate and can vary based on ingredient brands and quantities. For precise details, consult a registered dietitian or use a nutrition calculator.


Good. Make ruex with 1/4 cup flour and 1stick no salt butter. Stir for 10 minutes until golden caramel color, take off heat and stir in ruex and I cup pan dripping (if you want)to 6 cups of stock. Gooooood!!!!
Isn’t it amazing how much better homemade tastes versus the store bought stuff? We are continually amazed each time we venture out to make our own. How do you usually store this?
I have to be honest here, I go through so much chicken stock that it’s usually gone in 3 days. I just put it in a big bowl in my fridge. But on the off chance I have extra, I freeze it in 2 cup batches in Ziploc bags. Another idea I’ve seen is to freeze it in icecube trays, pop it out and put it in Ziploc bags too!